Throughout the module Recording and Mixing, we learnt about many different microphones and their properties. Our task was to create an original composition and record it using multiple microphone techniques, and demonstrate subtractive EQ using fader positions only. The recording of the song must establish the impact of microphone placement on tone for one of the instruments recorded. Every week we would have one three-hour session, in which our tutor would explain and demonstrate the values of microphones. Each session consisted of one instrument, such as drums, wherein our tutor would advise what the best microphones and positions were the most effective to use with a specific instrument. We would then spilt off into groups and attempt to set up and record a small section of each instrument as practice task to become more familiar with the microphones. This was a great practical way to learn new information which is supportive in incorporating knowledge into our final assignment.
Firstly, I had to decided what type of composition I wanted to record, including instruments, which would enable me to identify the differences in EQ via microphone placement manipulation. For my composition I wanted to record a folk genre as I believed this would deliver a clear track, that can demonstrate differences efficiently. I chose an acoustic guitar and vocals, as I understood from past sessions with my tutor, that the acoustic guitar is simple to set up, but also shows clear contrast in EQ. Once I had my original composition completed, I then moved onto choosing microphones. There are a multitude of factors to consider when deciding what microphones to use when capturing audio for my composition. This includes what type of microphone, such as, dynamic, condenser and ribbon microphones.
A dynamic microphone’s diaphragm is attached to a coil of wire that fits around a magnet. When the coil moves the magnet induces and electrical signal. Dynamic microphones capture a wide range of frequencies, both low and high, with most modern microphones having changeable polar patterns. Dynamic microphones are more robust which means are common in live performances as if they are dropped they are sturdier and aren’t likely to get broken. I decided not to use a dynamic microphone in my recording as I believe they don’t have sufficient qualities needed to capture the specific sound I was looking for.
A condenser microphone’s diaphragm is made up of two plates (front and back.) The plates form a capacitor and as the top plate moves, the charge varies. Condenser microphones require 48 volts of phantom power to work and capture a greater range of frequencies. Like dynamic microphones they also have changeable polar patterns. Additionally, condensers are more sensitive to loud sounds which allows them to reproduce a high-quality representation of an instrument. It is important these microphones are handled with care as they are fairly delicate and are therefore used mostly in recording studios, film and TV.
Finally, a ribbon microphone has a light metal ribbon which is extremely sensitive to sound. When the ribbon vibrates, it creates a voltage that corresponds to the changes in the air velocity of the sound source, mostly picking up low end frequencies which are very clear and accurate. This microphone runs on 48v phantom power and includes a step-up transformer. Most ribbon microphones do not allow phantom power as they will break. A ribbon microphone typically has a figure of eight polar pattern which means it picks up sound from the front and back equally.
As it’s important I pick appropriate microphones for my recording, by understanding the main properties I can use this to my advantage. Condenser microphones had an appealing aspect as they are commonly used in studio recordings. The condenser microphones I chose were the Neumann Pencil km184 pair for recording acoustic guitar. I selected these microphones as they are used as a pair and I can focus on proximity and directionality. When recording, I placed both pairs in a XY placement at the neck of the guitar, one facing the 12th fret and another on an angle. This allows the microphones to pick up the warm tones of the fret movement but also provide a clear, full stereo width sound which reduces the centre-pick up. Furthermore, I add two extra AKG C414 condenser microphones for the guitar, at the front and back of the body, with a bi-directional polar pattern. In doing this I could capture more intimate, close tone using the back microphone, but also capture a vibrant sound with the microphone at the front. To create a closed environment, I used three Gobos’, two at the side and one at the back, to reduce the reflection of sound waves when playing. This helped to create a cleaner, accurate recording of the guitar.
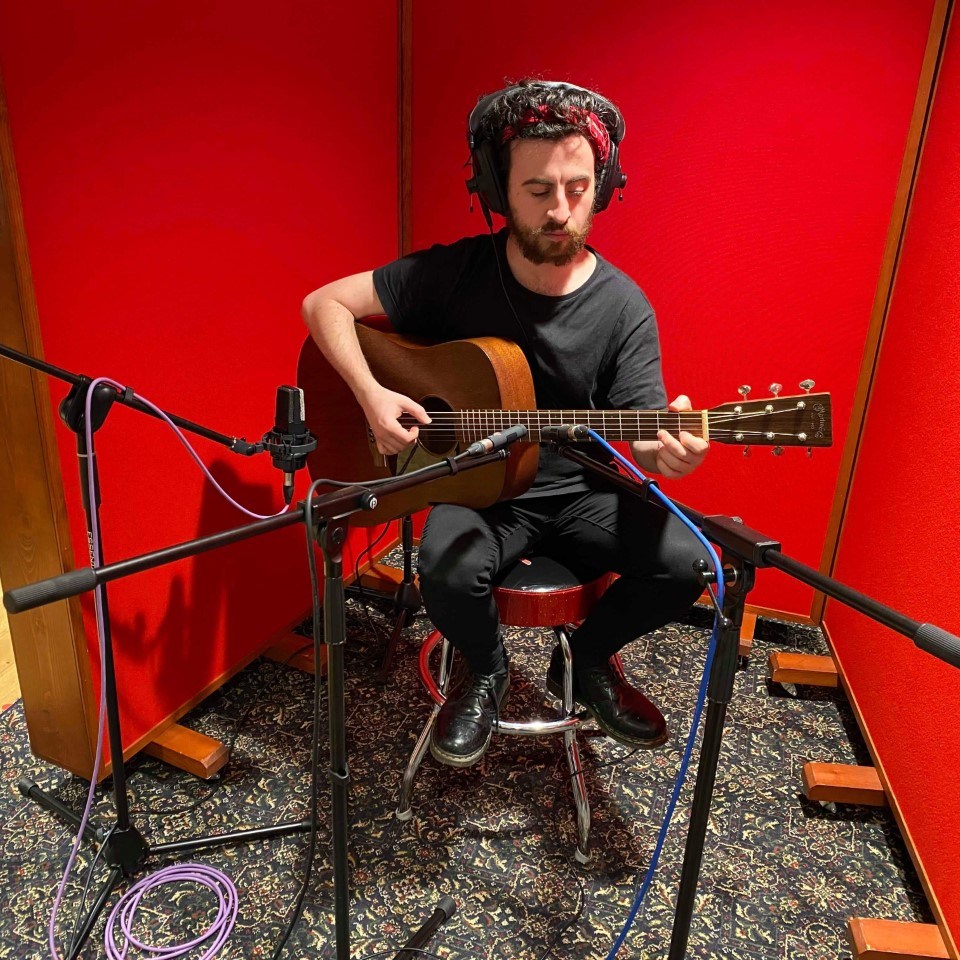
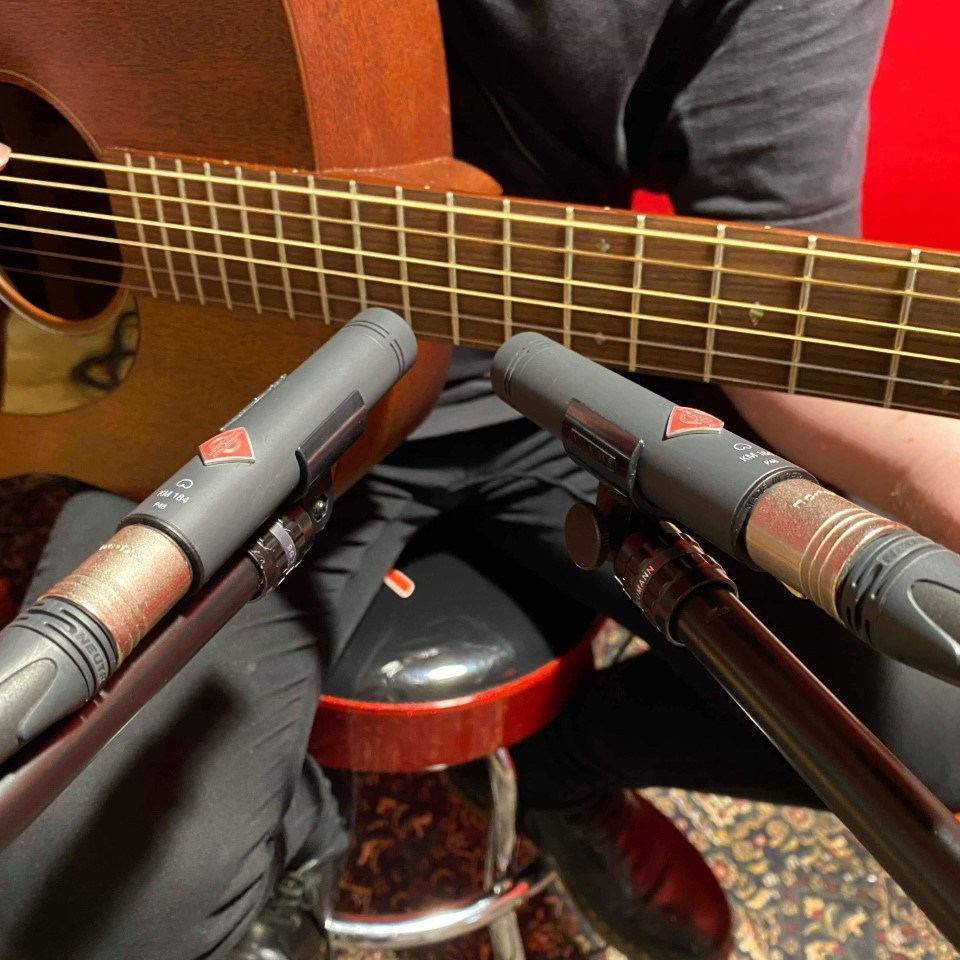
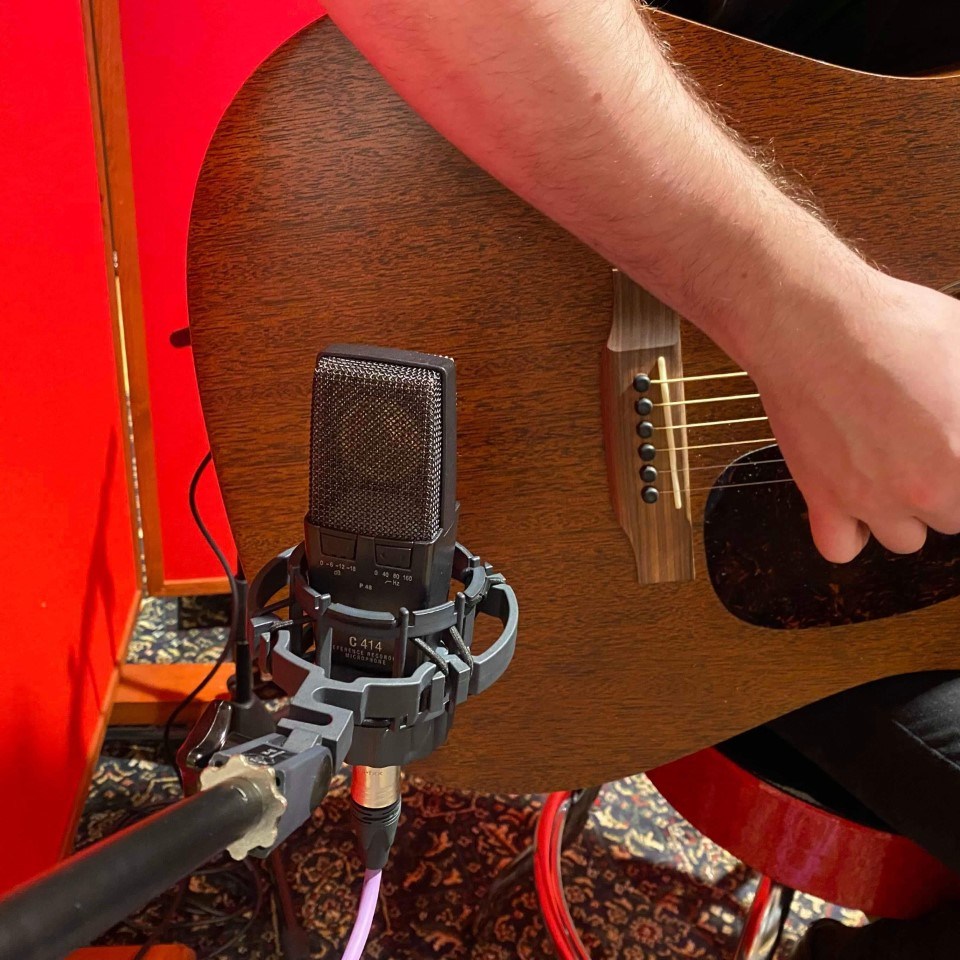
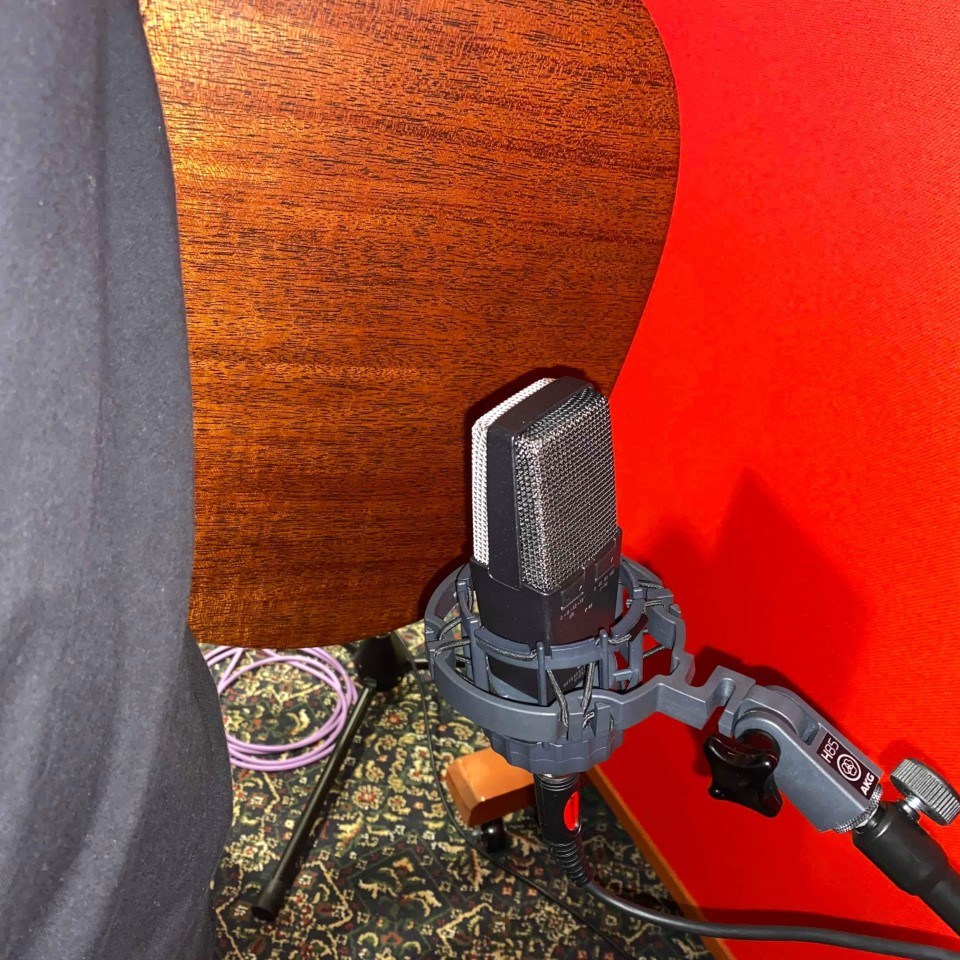
Above: Guitar recording set-up with all condenser microphones.
Moving on to vocals, I decided to use two different microphones. The first microphone was a Neumann u87 Ai condenser, which I used as the main vocal microphone. This microphone provided a bright, crisp sound without being too harsh. This is a great sound for the vocals as it offers a detailed sound that isn’t muffled with low quality. I also put the Neumann in a cardioid polar pattern to pick up the voice from the front and sides, to create more build with the vocals. The next microphone I decided to use was the Rode NTR ribbon. This was a personal favourite of mine as I became fond of how it succeeds well in capturing lower end frequencies. This shows that the microphone doesn’t have modern, bright tone, however, in my opinion, a more ‘old school’ tone. I concluded to use this microphone as a room microphone, to intend to use the bi-directional polar pattern to my advantage. As a result, the microphone picked up a lot of reflection which ultimately gave the sound some reverb, which added more value and body to the overall vocals in the track.
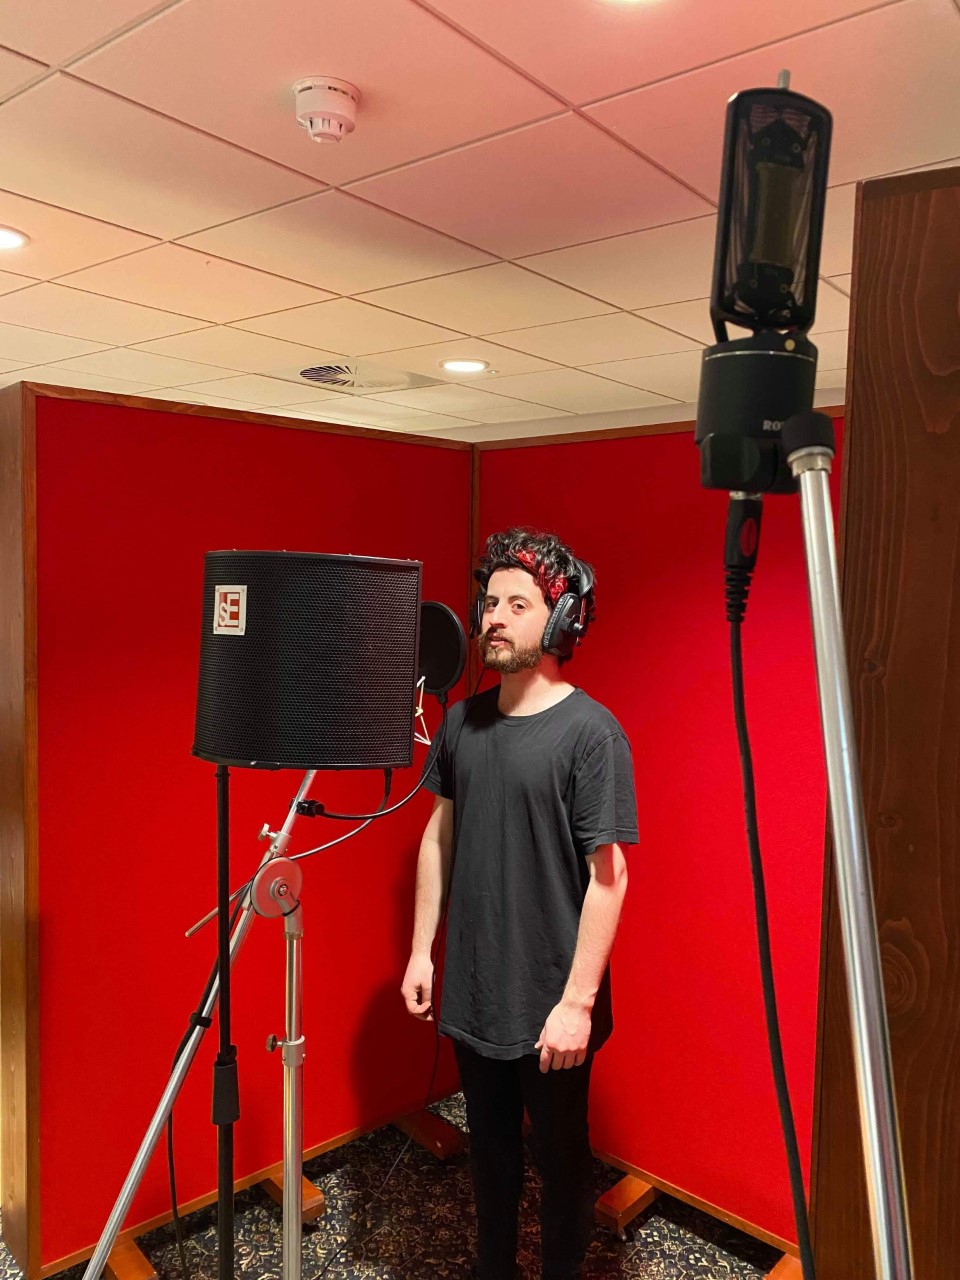
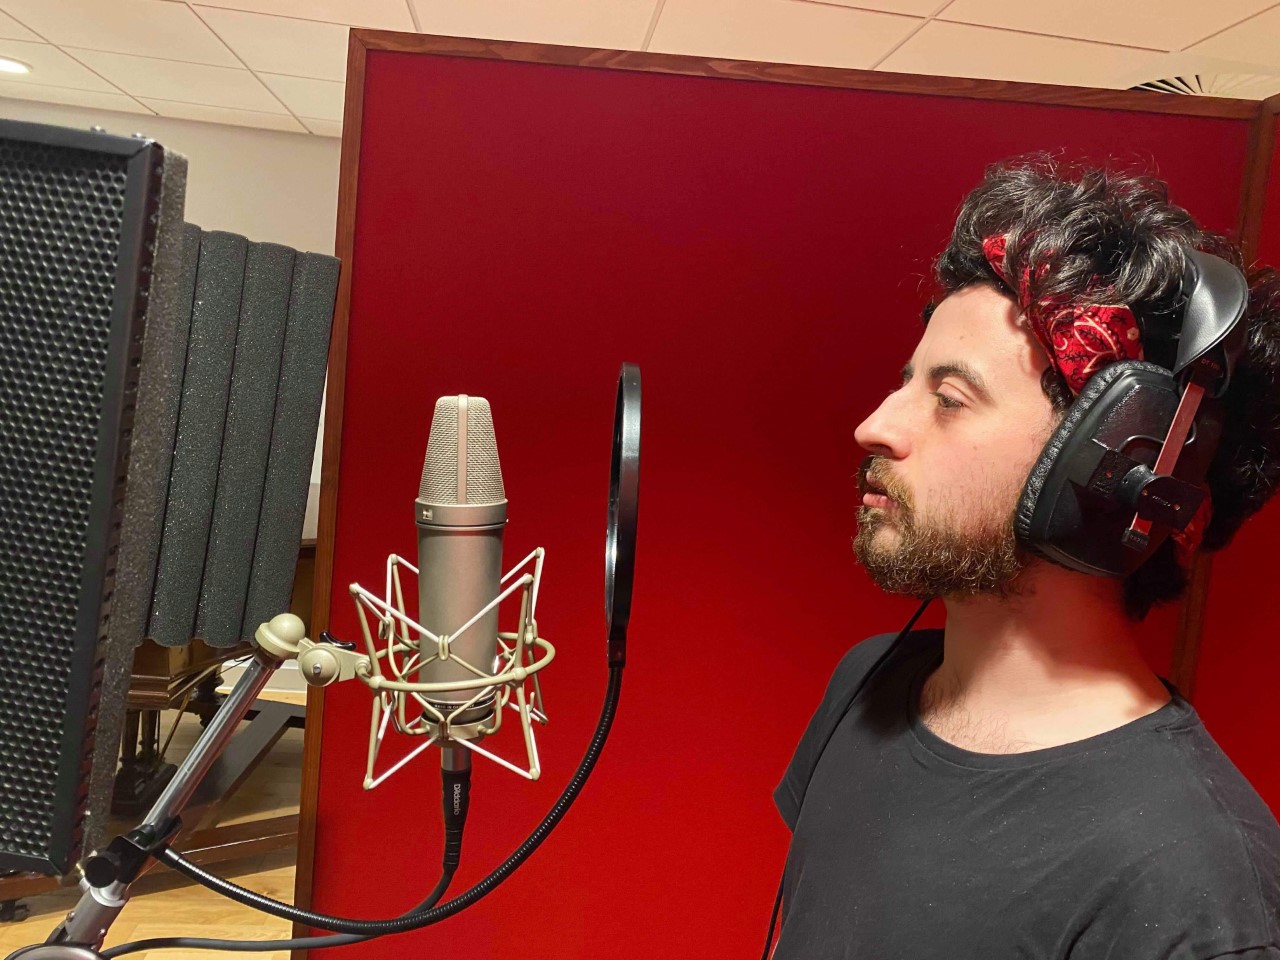
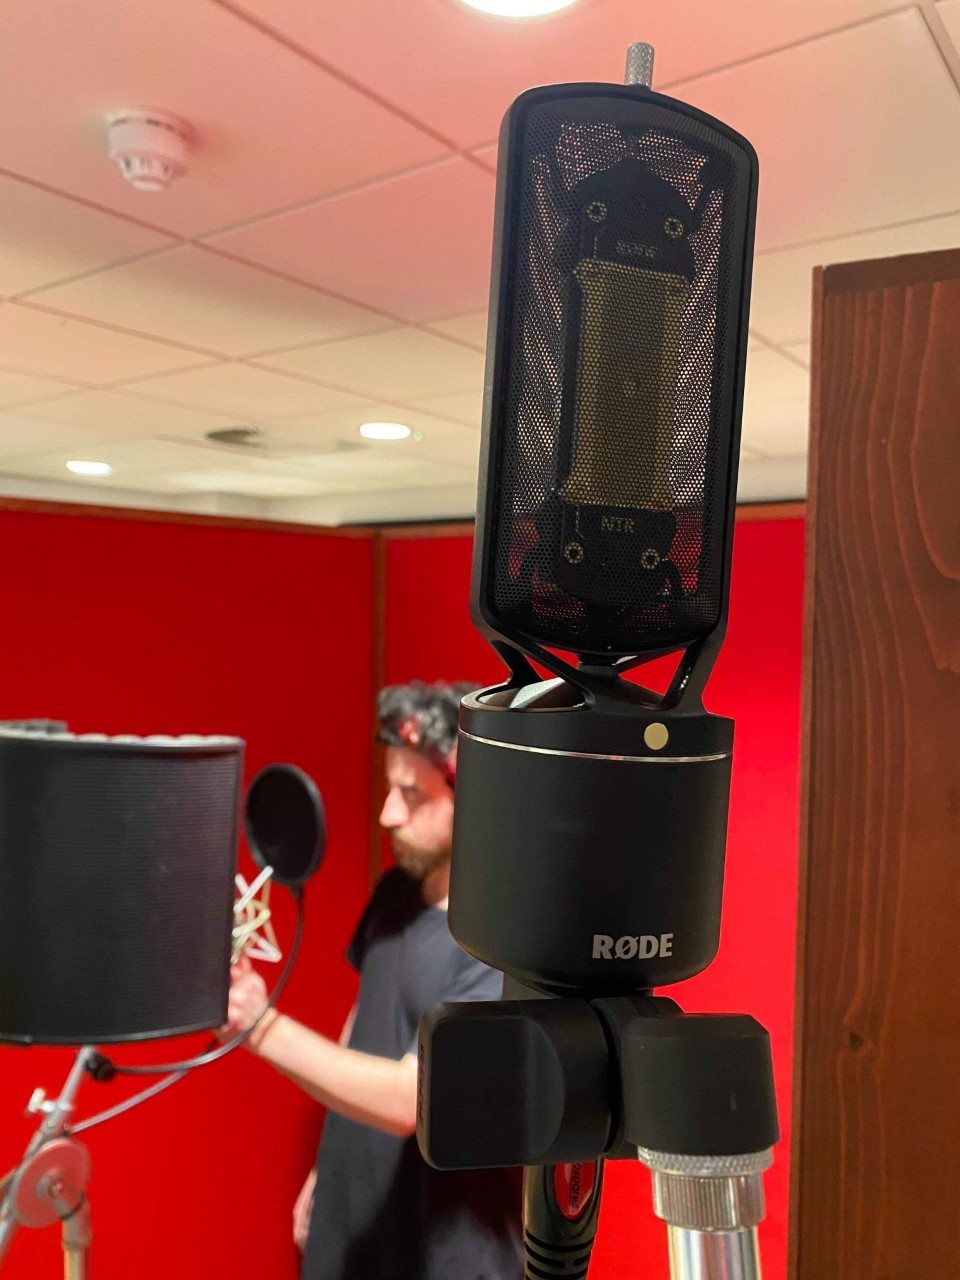
Above: Vocal mic set-up left, Neumann U87 Ai Middle, Rode NTR right.
When setting up in the recording studio, it was important I was conscious of health and safety. In this aspect, all personal belonging was to be placed outside the room the prevent a trip hazard. Another concern was XLR and jack leads on the floor. Leads were to be plugged in and coiled appropriately next to the microphones, so they do not get tangled and cause a risk. Once we had finished recording one instrument, we put away all microphones, microphone stands and leads before continuing to set up for the next recording. This allowed us to avoid trip hazards, but also confusion so nothing got lost.
Upon reflecting my time in the studio, there are many things that I would do differently if I were to do this assignment again. Firstly, I would like to record more than two instruments so that I can see the effect of microphone placement manipulation on a range of different instruments and sounds. Additionally, this would allow me to experiment with a variety of microphones and learn more about their properties
